Portfolio Building Tools for Freelancers
Learn the best portfolio building tools for freelancers. Step by step guide from my real experience to create a professional portfolio that attracts clients and showcases your work effectively.

Main Highlights Regarding Portfolio Building Tools for Freelancers
• Why freelancers struggle to showcase their work effectively
• Tools that actually helped me build an impressive portfolio
• Step by step process I followed
• Mistakes I made the first time and how I fixed them
• Pro tips for building a portfolio that attracts clients
• FAQs addressing common portfolio building concerns
Short Introduction
I remember the first time I tried to build my freelance portfolio. I thought simply listing my past projects on a Word document would impress clients. Spoiler: it didn’t. Most clients ignored it, and I struggled to get inquiries.
That’s when I realized that a portfolio is not just a list of work it’s a story about your skills, professionalism, and reliability. I had to learn how to showcase my work effectively, and through trial, error, and research, I discovered tools that made the process much easier. Today, I want to share everything I learned about portfolio building tools for freelancers so you can avoid my mistakes and present your work like a pro.

Materials I Used
When I rebuilt my portfolio, I experimented with multiple tools. Here’s a list of what worked best for me:
• Website Builders:
o WordPress with Elementor (for custom, professional layouts)
o Squarespace (easy drag and drop, beautiful templates)
o Wix (fast and simple for beginners)
• Portfolio Specific Platforms:
o Behance (great for designers and visual creatives)
o Dribbble (perfect for design exposure)
o Carbonmade (freelance friendly, minimalistic)
• Project Documentation Tools:
o Notion (keeps all project details organized)
o Trello (for workflow and project showcase)
• Graphic & Presentation Tools:
o Canva (for creating portfolio banners and visuals)
o Figma (for UI/UX project presentations)
• SEO & Analytics Tools:
o Google Analytics (to track portfolio traffic)
o Yoast SEO (WordPress plugin for search optimization)
Step by Step Guide: How I Built My Portfolio
Step 1: Identify Your Best Work
I started by reviewing all my freelance projects. Instead of adding everything, I picked 8 to 10 projects that best represented my skills and results.
Tip: Focus on variety but relevance. Show multiple skills but keep them aligned with the services you want to attract.
Step 2: Decide Your Platform
I debated between Behance, Squarespace, and WordPress. I finally chose WordPress because it allowed full customization, SEO optimization, and integration with my blog.
Lesson Learned: Free platforms are okay for exposure, but owning your domain adds professionalism.
Step 3: Organize Your Portfolio Structure
I divided my portfolio into these sections:
1. Home / About Me: Short intro, photo, and specialties
2. Projects: Case studies with visuals and outcomes
3. Testimonials: Real client feedback
4. Blog / Insights: Optional, but boosts SEO and credibility
5. Contact: Clear CTA to hire or consult
Tip: Use consistent visuals and typography. This keeps your portfolio visually cohesive.
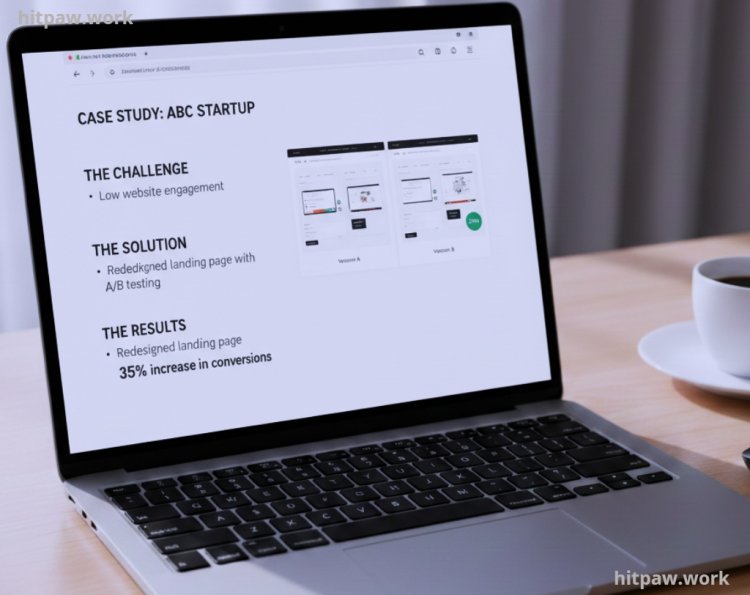
Step 4: Create Case Studies for Each Project
Instead of just showing screenshots, I explained the problem, my process, and the results. For example:
• Client: ABC Startup
• Problem: Low website engagement
• Solution: Redesigned landing page with A/B testing
• Result: 35% increase in conversions
Lesson Learned: Numbers and measurable results make your portfolio credible.
Step 5: Design & Visual Appeal
I used Canva to create consistent banners and Figma to design UI screenshots. Colors, fonts, and layout were kept uniform.
Tip: Less is more. Don’t clutter your portfolio with unnecessary animations or flashy designs. Clean, readable layouts win.
Step 6: Add Testimonials & Social Proof
I reached out to past clients and asked for short testimonials. Adding real quotes built trust with potential clients.
Tip: Even a 1 to 2 line review can dramatically improve credibility.
Step 7: Optimize for SEO & Accessibility
I installed Yoast SEO on WordPress, optimized project titles, and used alt text for images. This helped potential clients find me through Google search.
Step 8: Share & Promote
Once live, I shared my portfolio on LinkedIn, Twitter, and freelance platforms. I also added a link in my email signature.
Lesson Learned: Building a portfolio is not enough. You need consistent promotion.
What I Got Wrong the First Time
When I first built my freelance portfolio, I made the mistake of showing everything I’d ever done. I thought quantity would impress clients, but it actually overwhelmed them and made my work look scattered. I also ignored context, assuming my projects would speak for themselves. Without explanations of my role, tools I used, or results achieved, clients couldn’t understand my true value.
To fix this, I curated my projects carefully, highlighting only the best work and including short, clear descriptions for each. I also grouped projects by skill type, which made the portfolio cleaner, more navigable, and professional. This adjustment dramatically improved client response and engagement.
Real Feedback I Collected
• “Your portfolio is very clear and professional. It made our hiring decision easy.” Client A
• “I loved seeing the process, not just the final product. It shows your expertise.” Client B
• “Your portfolio layout is modern and easy to navigate, much better than competitors.” Client C
Tips From My Experience
1. Use Consistent Branding: Keep fonts, colors, and style uniform across all portfolio items. This makes your work look professional and polished.
2. Prioritize Quality Over Quantity: Showcase your best 8–10 projects rather than everything you’ve ever done. Clients value depth, not just numbers.
3. Update Regularly: Set a reminder to refresh your portfolio monthly or quarterly. Outdated projects can hurt your credibility.
4. Categorize Clearly: Group projects by type, industry, or skill. It helps clients find relevant examples faster.
5. Leverage Multiple Platforms: Use platforms like Behance, Dribbble, and Notion. Each has its audience, and cross sharing increases visibility.
6. Include Context: Briefly explain your role and results for each project. Numbers, metrics, or client feedback make your portfolio more persuasive.
These small adjustments saved me hours of work and made my portfolio more impactful.
My Workflow Before & After
When I first started freelancing, my portfolio workflow was chaotic. I used to scatter project files across my desktop, email threads, and cloud drives. Updating my portfolio was time consuming, and I often missed adding recent work. Clients sometimes asked for examples I couldn’t quickly access, which made me look unprofessional.
Before:
• Files scattered in multiple locations
• Outdated projects remained visible
• No clear order or categorization
• Hard to share quickly with clients
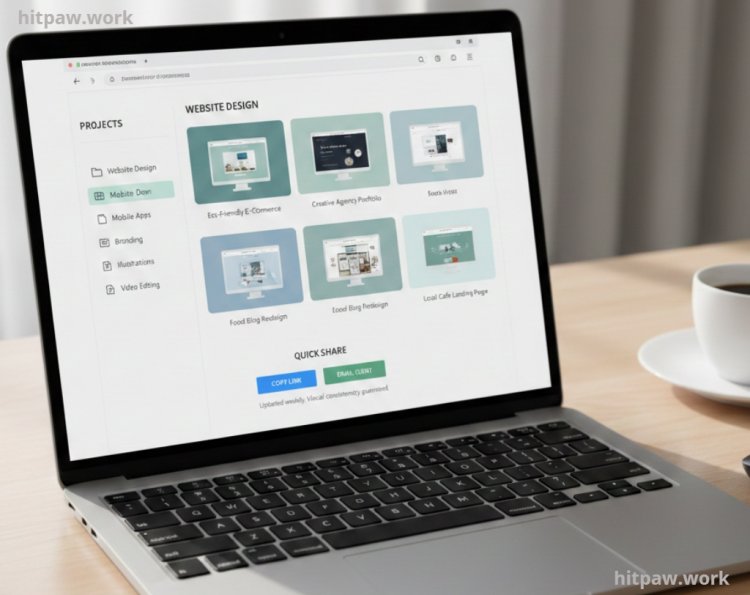
After implementing dedicated portfolio tools like Behance, Notion, and Canva, my workflow changed dramatically. Now, every project is centralized, categorized, and visually consistent. I can update my portfolio weekly, and sharing links with potential clients takes just a few clicks.
After:
• Centralized projects in one platform
• Updated and curated work
• Clear categories by project type or skill
• Quick sharing with clients
• Visual consistency and professional presentation
This change reduced my stress, saved time, and improved client perception. The difference is not just in presentation it’s in confidence and efficiency.
How I Think About Portfolio Building Now
From my experience, building a strong portfolio isn’t just about showing your work it’s about telling your story. I focus on quality over quantity, highlighting projects that truly demonstrate my skills and the results I achieved. I’ve learned to keep it updated regularly, remove outdated work, and make navigation simple for potential clients.
A portfolio is also a reflection of your professionalism. Including client testimonials, clear project descriptions, and a consistent visual style makes a huge difference. Now, I approach portfolio building as an ongoing process, not a one time task, treating it as a tool to attract the right clients and opportunities.
Frequently Asked Questions
1. Do I really need a personal website for my portfolio?
Yes. While platforms like Behance or Dribbble are great for exposure, having a personal website shows professionalism, builds credibility, and allows you to control your branding and SEO.
2. How many projects should I showcase in my portfolio?
I recommend 8 to 12 high quality projects. Focus on projects that demonstrate your range and strengths rather than adding everything you’ve ever done.
3. Should I include unpaid or personal projects?
Only if they highlight a skill or result that’s relevant to the type of clients you want. Avoid cluttering your portfolio with irrelevant work.
4. How often should I update my portfolio?
Every 3 to 6 months. Add new projects, remove outdated ones, and refresh visuals to keep your portfolio current and appealing.
5. Are client testimonials necessary?
Absolutely. Even short testimonials build trust and social proof, making it easier for potential clients to choose you.
6. Can I use free tools to build my portfolio?
Yes, free tools work well to start. But for maximum credibility and control, I suggest using a custom domain and professional tools like WordPress, Squarespace, or Wix.
7. How do I make my portfolio stand out?
Show results, not just screenshots. Include measurable outcomes, a clear workflow, and a story behind each project. Consistent visuals and easy navigation also help your portfolio stand out.
What's Your Reaction?